When you start learning Java, the very first wall you will face is “compilation.” Merely writing source code (.java) will not run anything — you must compile it using the javac command to generate a .class file, and only then can the program be executed. In this article, we summarize the Java compilation procedure, basic usage of javac, PATH configuration, and solutions for common beginner errors — in a flow that even a total beginner can follow step-by-step. The goal is to move from “What do I even start with for Java compilation?” to confidently typing commands without hesitation.
- 1 What Is Java Compilation?|Beginner-Friendly Explanation of “Compilation”
- 2 Preparation Required Before Compiling Java
- 3 Let’s Actually Compile a Java File
- 4 How to Run It After Compilation
- 5 Frequent Errors and How to Fix Them
- 6 Compiling Using an IDE
- 7 Basics of javac Options
- 8 Summary
- 9 FAQ: Frequently Asked Questions About Java Compilation
What Is Java Compilation?|Beginner-Friendly Explanation of “Compilation”
In Java, “compilation” is the process of converting human-written source code (.java) into a format readable by the Java Virtual Machine (JVM).
The resulting output is the .class file, called bytecode.
Unlike languages such as C that compile directly to native code, Java takes an intermediate step — source code is first converted to bytecode, then executed on the JVM.
This mechanism allows the same .class file to run on different OS environments — which means you can run the exact same Java program on Windows, macOS, or Linux.
Another crucial element you must understand: compiling and running are separate actions.
- “javac” → handles compilation
- “java” → handles execution
Most beginners fail because this distinction is vague to them. Clarifying these “two different roles” becomes the most efficient first step in your understanding.
Preparation Required Before Compiling Java
To compile Java, you must have the JDK (Java Development Kit) installed.
The JRE alone cannot compile code because the compiler tool javac is included only in the JDK.
Start by checking this:
javac -versionIf this command returns a version number, you are good to go.
If you get “command not found” or similar errors, one of the following is highly likely:
- The JDK is not installed
- The JDK is installed but PATH is not set
- You only have JRE installed (no development kit)
PATH configuration is especially where Japanese users get stuck.
If the operating system does not recognize the path up to javac.exe (or the /bin directory), compilation will not work.
Conclusion:
“Prepare the JDK” and “Verify PATH” — only with these two in place can you stand at the actual starting line of Java compilation.
Let’s Actually Compile a Java File
Here, we will create a sample code and confirm the procedure for compiling it with javac.
First, save the following content with a text editor.
Sample.java
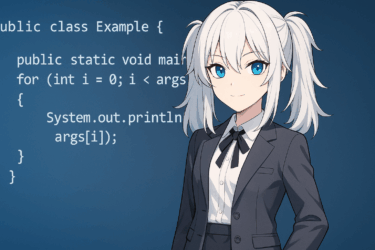
public class Sample {
    public static void main(String[] args) {
        System.out.println("Hello Java!");
    }
}
The file name must be Sample.java, and the public class name must match the file name.
If this rule is broken, the compilation will fail — this is one of the most common beginner mistakes.
Next, run the following in the terminal / command prompt:
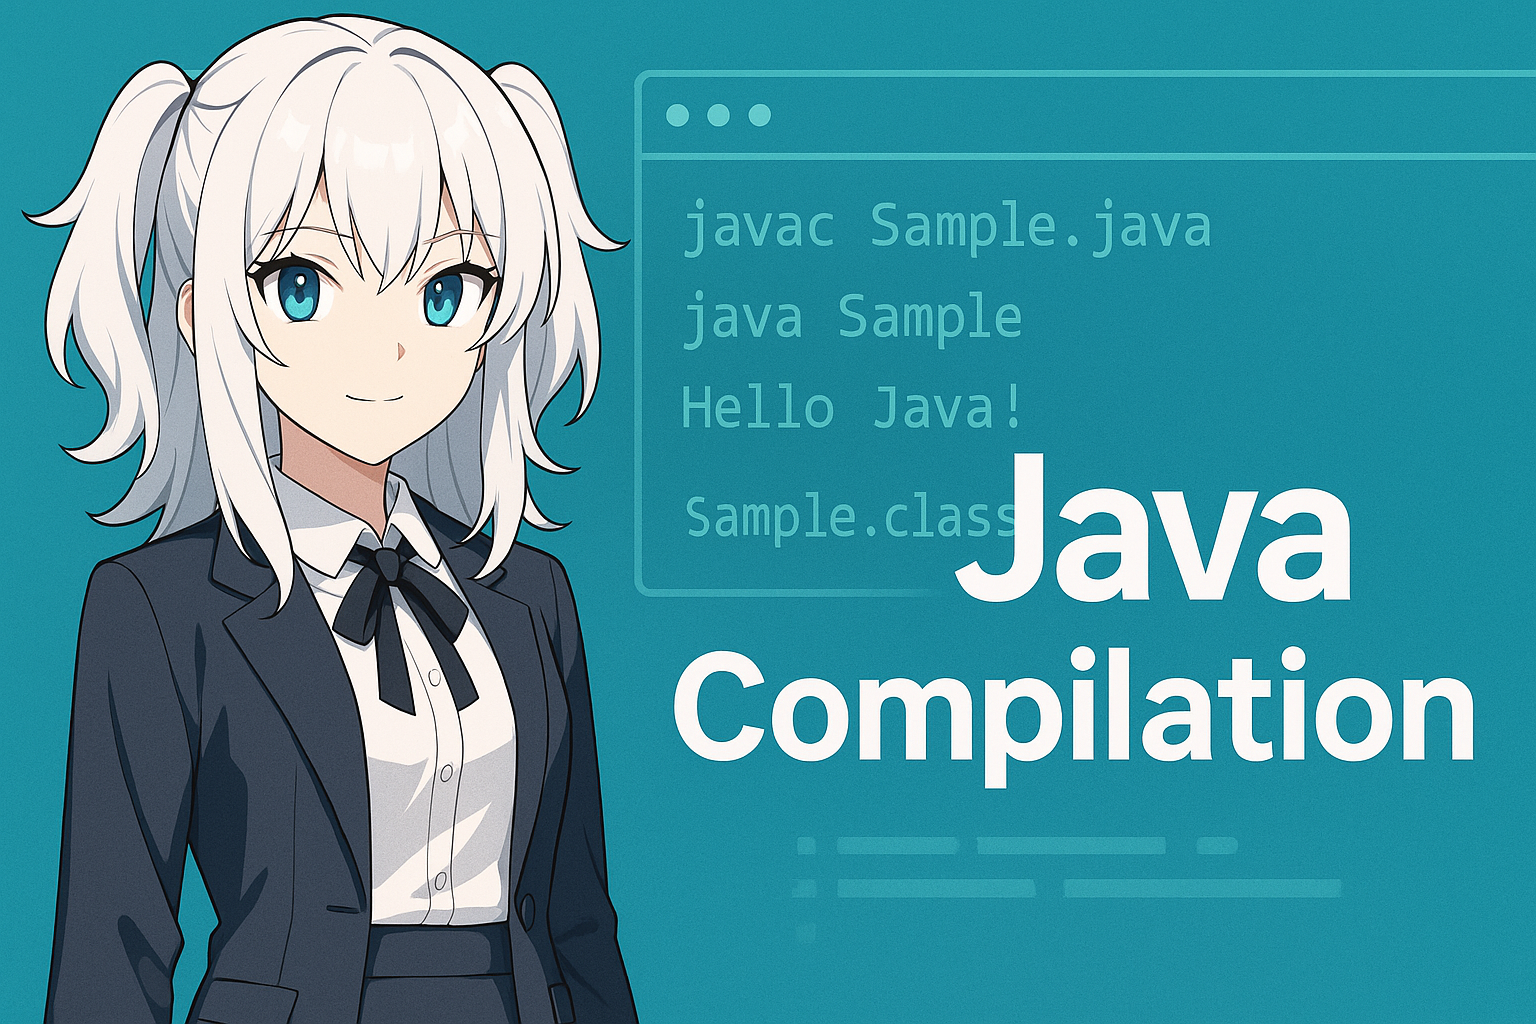
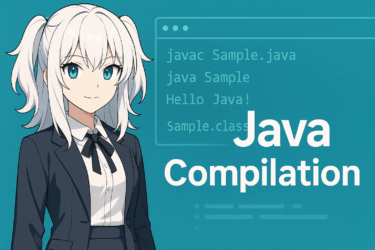
javac Sample.javaIf everything executes normally, Sample.class will be generated in the same folder.
This indicates “compilation completed.”
So, at this moment:
- Sample.java (source)
- Sample.class (bytecode)
This pair is now ready.
At this stage, you are prepared to “run a Java program.”
How to Run It After Compilation
After compilation is complete, the next step is to run the .class file.
The command used here is java — not javac.
java SampleKey point: do not write the .class extension.
Writing java Sample.class will cause an error.
Java is designed to execute based on the class name (without extension).
Organized summary:
| Role | Command | Target |
|---|---|---|
| Compile | javac Sample.java | .java file |
| Run | java Sample | Class name (without extension) |
If you understand the role switch between javac and java, you have cleared the beginner stage.
If “Hello Java!” appears successfully, the process worked.
At this point you have grasped the minimum “flow” of Java.
Frequent Errors and How to Fix Them
In Java compilation, encountering errors at the beginning is absolutely normal.
Here we focus only on the mistakes that Japanese beginners especially run into.
1) javac: command not found / 'javac' is not recognized…
In nearly 100% of cases, the reason is one of the following:
- The JDK is not installed
- PATH is not configured
Fix:
Run javac -version to verify
→ If nothing appears, reinstall the JDK and review PATH configuration.
2) Compilation succeeds but no .class file is generated
The most common issue among Japanese beginners is this:
The file name and the public class name do not match
Example — If Sample.java contains:
public class Test {
}
→ This will result in a compilation error.
3) Character-encoding related warnings
warning: [options] bootstrap class path not set in conjunction with -source 1.7Warnings like these are not fatal in most cases.
However, they may imply old version settings or mismatched encoding.
Saving files in UTF-8 is the safest choice.
Compiling Using an IDE
In real-world Java development, you rarely type javac manually in the terminal each time.
This is because the IDE (Integrated Development Environment) automatically handles compilation in the background.
The following three IDEs are extremely popular in Japan and are also practical for learning:
| IDE | Characteristics |
|---|---|
| IntelliJ IDEA | The de-facto standard for modern Java development. Suitable for professional use. |
| Eclipse | Long history, widely used in enterprise projects. |
| VSCode | Lightweight. Java Extension Pack enables a proper Java environment. |
In IDEs, compilation happens automatically every time you save a file — and error locations are instantly visualized.
This means you can bypass the beginner obstacles such as “mistyping javac” or “incorrect PATH configuration.”
However, it is still true that there is strong value in manually experiencing javac at least once in order to understand how Java works.
Once you understand the flow “compile → run” by hand, your comprehension speed dramatically increases when you move to IDE-based development.
Basics of javac Options
javac is not just “.java → .class converter.” You can attach multiple options to control compile behavior.
But at the beginner stage, you do not need to memorize everything — knowing just the commonly used ones is enough.
Here are three representative ones:
| Option | Meaning | Example |
|---|---|---|
-d | Specify output directory for .class files | javac -d out Sample.java |
-classpath | Specify classpath for external libraries / other directories | javac -classpath lib/* Sample.java |
--enable-preview | Enable preview language features | javac --enable-preview Sample.java |
Especially -d is almost mandatory when using packages.
For example, if you write package com.example;, you must use javac -d to correctly generate the directory structure under the output directory.
As you move into real work, classpath specification and -d usage drastically increase.
Just being aware of these names at this stage makes later learning smoother.
Summary
To run Java programs, you must understand the 3-step sequence: write source → compile → execute.
Especially if you mentally separate the roles of javac (compilation) and java (execution), the reason “why compilation is necessary” suddenly makes complete sense.
Also, beginners usually get stuck at these two points:
- JDK is not installed / PATH is not configured
- File name and public class name are not the same
If you solve just these two, you will avoid huge detours in the learning phase.
After getting used to the basics, moving on to IDE development is totally fine.
However, whether you “understand the mechanism inside” is what later creates a difference in understanding speed.
Use this article as a starting point and first successfully complete .java → .class one time.
That is the first achievement milestone in learning Java.
FAQ: Frequently Asked Questions About Java Compilation
Q1: What is the difference between javac and java?
A: javac is the command for compilation — it converts .java into .class.
On the other hand, java is the command for execution — it runs the .class on the JVM.
Q2: Sample.class is not generated. What is the cause?
A: The most common cause is that the file name and the public class name do not match.
If the class is public class Sample, then the file must be Sample.java.
Q3: If I’m using an IDE, do I no longer need to learn javac?
A: IDEs compile automatically in the background, but if you do not understand the mechanism, it becomes harder to grasp what is actually happening.
Experiencing the basic flow once helps you understand IDE behavior faster.
Q4: Which JDK should I install?
A: For beginners, Temurin (Eclipse Adoptium) LTS builds are easy to use.
If you do not have a specific reason, choose Java 17 or 21.
Q5: I get javac: command not found
A: Either the JDK is not installed or PATH is not configured.
First run javac -version to check if it is recognized.