When you start learning Java, the first major hurdle you encounter is usually “compilation.” Simply writing source code (.java) is not enough to run a program. You must compile it using the javac command to generate a .class file before it can be executed. In this article, we explain the Java compilation process, basic usage of javac, PATH configuration, and how to handle common errors, all in a step-by-step manner that beginners can follow. The goal is to help you move confidently from “Where do I start with Java compilation?” to actually compiling and running Java programs without confusion.
- 1 What Is Java Compilation? | Understanding “Compilation” for Beginners
- 2 Requirements for Java Compilation
- 3 Compiling a Java File in Practice
- 4 Running a Program After Compilation
- 5 Common Errors and How to Fix Them
- 6 Compiling with an IDE
- 7 Basic javac Options
- 8 Summary
- 9 FAQ: Common Questions About Java Compilation
What Is Java Compilation? | Understanding “Compilation” for Beginners
In Java, “compilation” refers to the process of converting human-written source code (.java) into a format that the Java Virtual Machine (JVM) can read.
The output of this process is a .class file, which is called bytecode.
Unlike languages such as C that are compiled directly into native machine code, Java first converts source code into bytecode and then runs it on the JVM.
Thanks to this mechanism, the same .class file can run on different operating systems, allowing the same Java program to run on Windows, macOS, and Linux.
Another important point to understand is that compilation and execution are separate operations.
- “javac” → responsible for compilation
- “java” → responsible for execution
About 90% of beginners struggle because this distinction is unclear.
Firmly understanding that these two commands have different roles is the most efficient first step.
Requirements for Java Compilation
To compile Java code, you must have the JDK (Java Development Kit) installed.
The JRE alone is not sufficient, because the javac compiler is a developer tool included only in the JDK.
Start by checking the following:
javac -versionIf this command returns a version number, everything is fine.
If you see a message such as “command not found,” one of the following is likely true:
- The JDK is not installed
- The JDK is installed but the PATH is not set
- Only the JRE is installed (no development tools)
In particular, PATH configuration is a common stumbling block for beginners.
If the system cannot find the directory containing javac (or the bin directory), compilation will not work.
Conclusion:
You can only start compiling Java after both “JDK installation” and “PATH verification” are properly completed.
Compiling a Java File in Practice
Here, we will create a simple sample program and compile it using javac.
First, save the following content in a text editor.
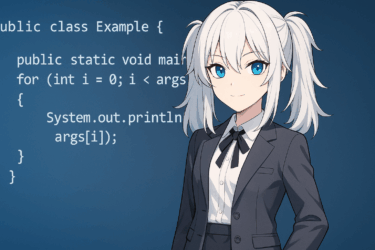
Sample.java
public class Sample {
    public static void main(String[] args) {
        System.out.println("Hello Java!");
    }
}
The file name must be Sample.java, and it is crucial that the public class name matches the file name.
Java will not compile if this rule is violated, and this is a classic beginner mistake.
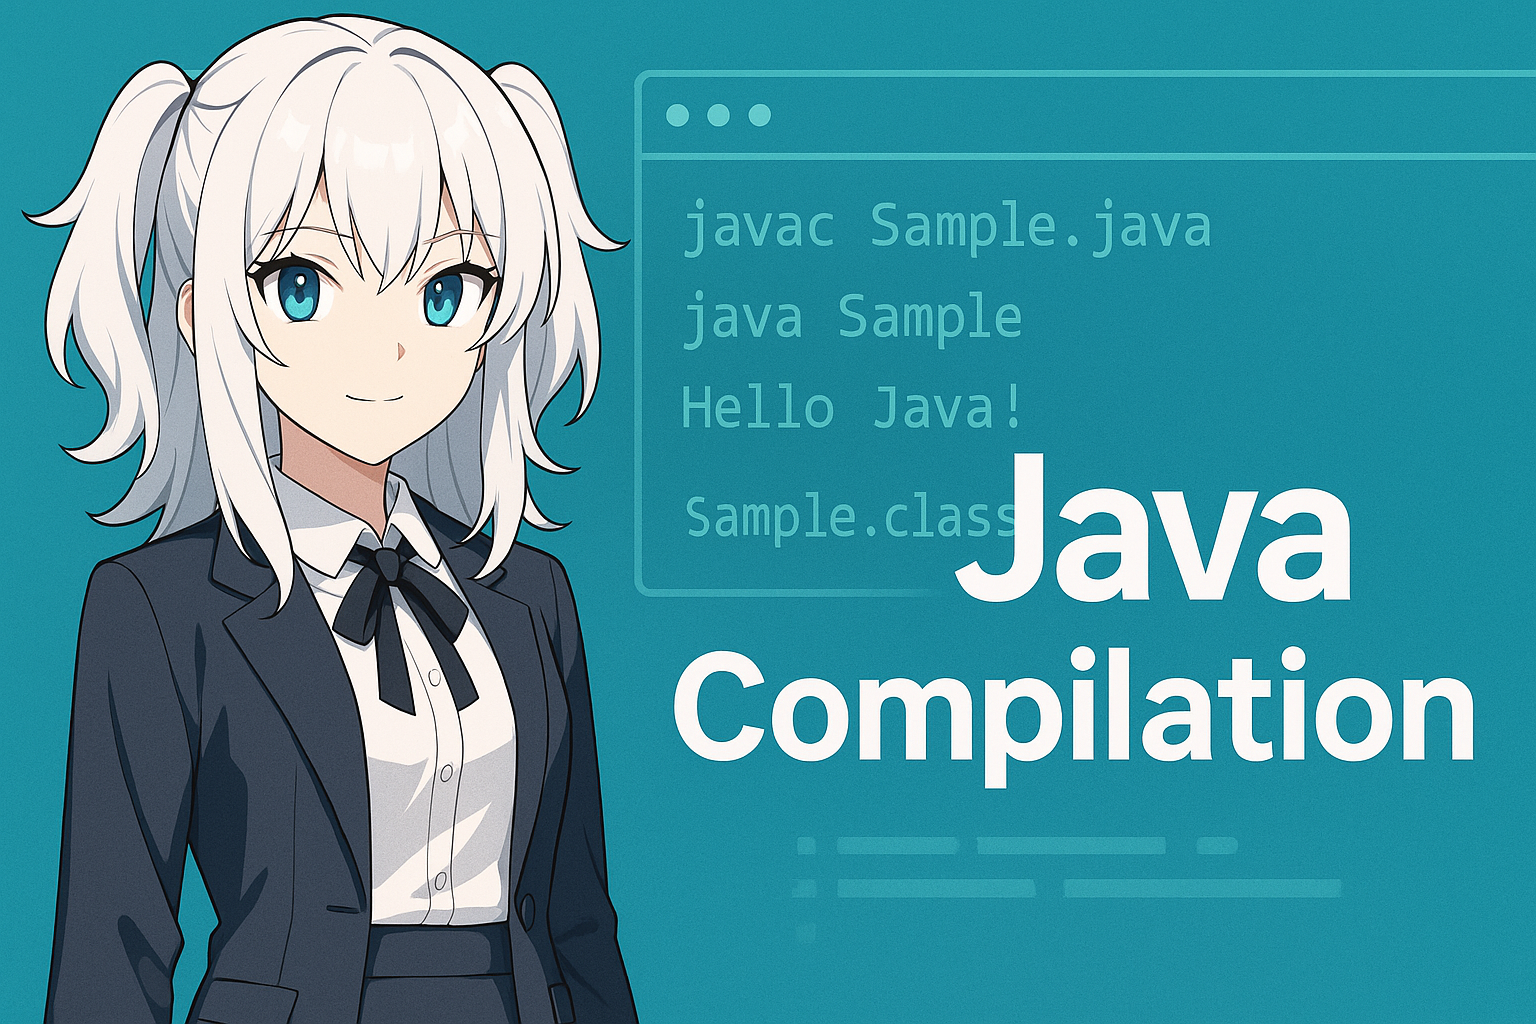
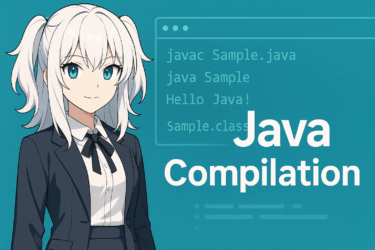
Next, run the following command in your terminal or command prompt:
javac Sample.javaIf the compilation succeeds, a Sample.class file will appear in the same directory.
This indicates that compilation has completed successfully.
At this point, you now have:
- Sample.java (source code)
- Sample.class (bytecode)
With this pair in place, you are ready to run a Java program.
Running a Program After Compilation
After compilation, the next step is to execute the .class file.
The command used here is java, not javac.
java SampleThe key point is not to include the .class extension.
If you write java Sample.class, an error will occur.
Java is designed to run programs by specifying the class name.
In summary:
| Role | Command | Target |
|---|---|---|
| Compile | javac Sample.java | .java file |
| Run | java Sample | Class name (no extension) |
Once you clearly understand the different roles of javac and java, you have effectively passed the beginner stage.
If “Hello Java!” appears on the screen, your program ran successfully.
At this point, you have grasped the minimum required Java workflow.
Common Errors and How to Fix Them
Encountering errors during Java compilation is completely normal for beginners.
Here, we focus on the most common issues faced by many users.
1) javac: command not found
In nearly 100% of cases, the cause is one of the following:
- The JDK is not installed
- The PATH is not configured correctly
Solution:
Run javac -version
→ If it does not work, reinstall the JDK and review your PATH settings.
2) Compilation succeeds but no .class file is generated
The most common mistake is:
The file name does not match the public class name
Example:
public class Test {
}
→ This will result in a compilation error.
3) Encoding-related warnings
warning: [options] bootstrap class path not set in conjunction with -source 1.7Warnings like this are usually not fatal errors.
However, they may indicate outdated source options or encoding mismatches.
To avoid issues, always save your files in UTF-8.
Compiling with an IDE
In real-world Java development, developers rarely run javac manually from the command line.
This is because IDEs (Integrated Development Environments) handle compilation automatically.
The following IDEs are especially popular and practical:
| IDE | Features |
|---|---|
| IntelliJ IDEA | The de facto standard for modern Java development, suitable for professional use. |
| Eclipse | A long-established IDE widely used in enterprise projects. |
| VS Code | Lightweight; Java Extension Pack provides a complete environment. |
IDEs automatically compile your code whenever you save a file and immediately highlight errors.
This eliminates many beginner pitfalls such as command typos and PATH misconfiguration.
That said, manually compiling with javac at least once is valuable for understanding how Java works internally.
Once you understand the “compile → run” flow, your learning speed with an IDE will increase significantly.
Basic javac Options
The javac command supports many options that control how compilation is performed.
At the beginner level, you only need to understand a few commonly used ones.
Here are three representative options:
| Option | Description | Example |
|---|---|---|
-d | Specifies the output directory for class files | javac -d out Sample.java |
-classpath | Specifies external libraries or additional class paths | javac -classpath lib/* Sample.java |
--enable-preview | Enables preview language features | javac --enable-preview Sample.java |
The -d option is especially important when using packages.
For example, if you use package com.example;, omitting javac -d will result in an incorrect directory structure.
As you move into real-world development, classpath and -d options become increasingly important.
Even recognizing their names early will make future learning smoother.
Summary
To run a Java program, you must understand the three-step process: write source code → compile → run.
Once the roles of javac (compilation) and java (execution) are clear, the purpose of compilation becomes obvious.
The two most common beginner pitfalls are:
- The JDK is not installed or PATH is not configured
- The file name does not match the public class name
By addressing these early, you can avoid unnecessary detours in your learning process.
You can move on to IDE-based development once you are comfortable, but understanding the underlying mechanism will significantly improve your learning speed.
Use this article as a starting point and focus first on successfully converting a single .java file into a .class file.
That moment marks your first real milestone in learning Java.
FAQ: Common Questions About Java Compilation
Q1: What is the difference between javac and java?
A: javac is the compilation command that converts .java files into .class files.
java is the execution command that runs .class files on the JVM.
Q2: Why is Sample.class not generated?
A: The most common reason is a mismatch between the file name and the public class name.
If the class is public class Sample, the file must be named Sample.java.
Q3: Do I still need to learn javac if I use an IDE?
A: IDEs compile code automatically, but without understanding the process, it can be hard to know what is happening behind the scenes. Experiencing the basic flow once makes IDE usage much easier.
Q4: Which JDK should I install?
A: For beginners, the LTS versions from Eclipse Adoptium (Temurin) are easy to use.
If you have no specific requirements, Java 17 or 21 are safe choices.
Q5: I get javac: command not found
A: This means the JDK is not installed or the PATH is not configured.
First, check with javac -version.